Up in an afternoon.
Down to earth forever.
Installing an In-Ground Trampoline Ring
Not only are our trampoline rings the strongest, most durable, longest-lasting in-ground trampoline retention system on the market, but they are also, by far, the easiest method for installation. Our trampoline rings can be installed with the four easy following steps:
Jump to a Section:
Tools & Materials You'll Need
Tools:
- Shovel or spade
- Level (4-ft recommended)
- Tape measure
- Cordless drill or impact driver
- Socket set or wrench set (for hardware)
- Rubber mallet (optional but helpful)
- Wheelbarrow (for moving soil/gravel)
Materials (included):
- Pre-formed corrugated steel sheets
- All necessary hardware (bolts, nuts, washers)
Recommended Extras:
- Gravel or crushed stone (for drainage layer)
- Landscape fabric (optional – prevents weeds)
Step-by-Step Instructions
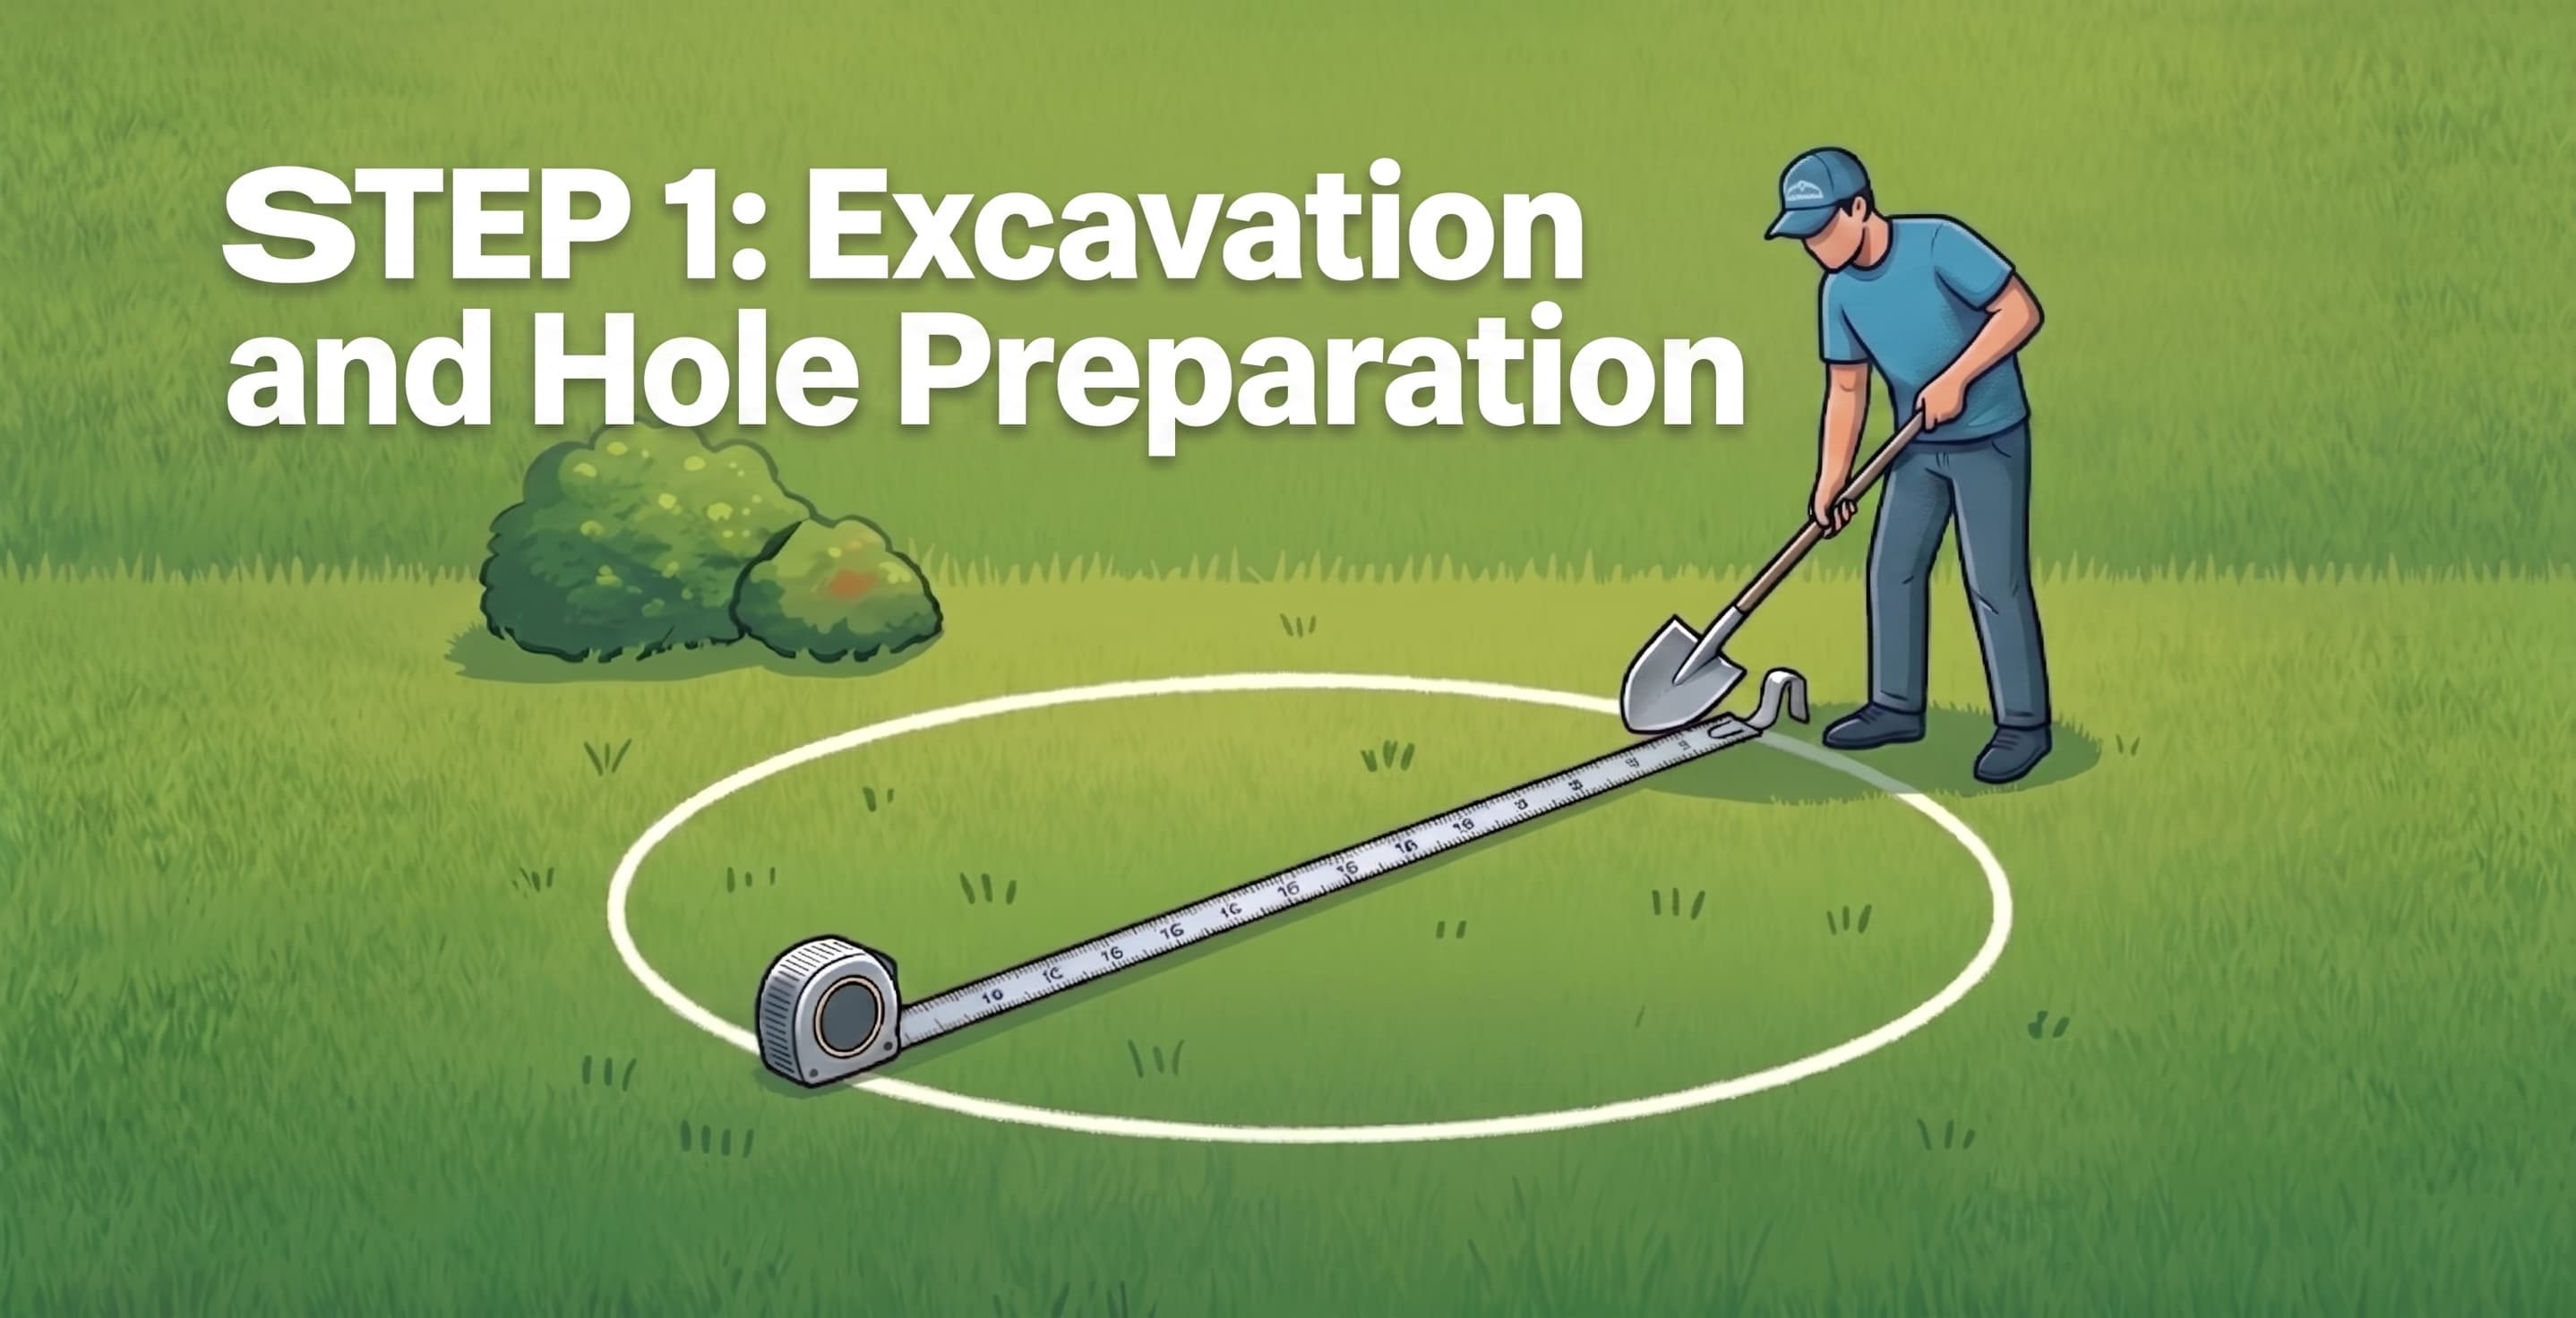
Prepare the Hole
- Choose a flat, level area in your yard with good drainage.
- Measure your trampoline frame and add at least 12 inches all the way around for the ring and backfill.
- Dig the hole approximately 12–18 inches deep (or to the height of your trampoline legs).
- Make sure the bottom of the hole is as level as possible.
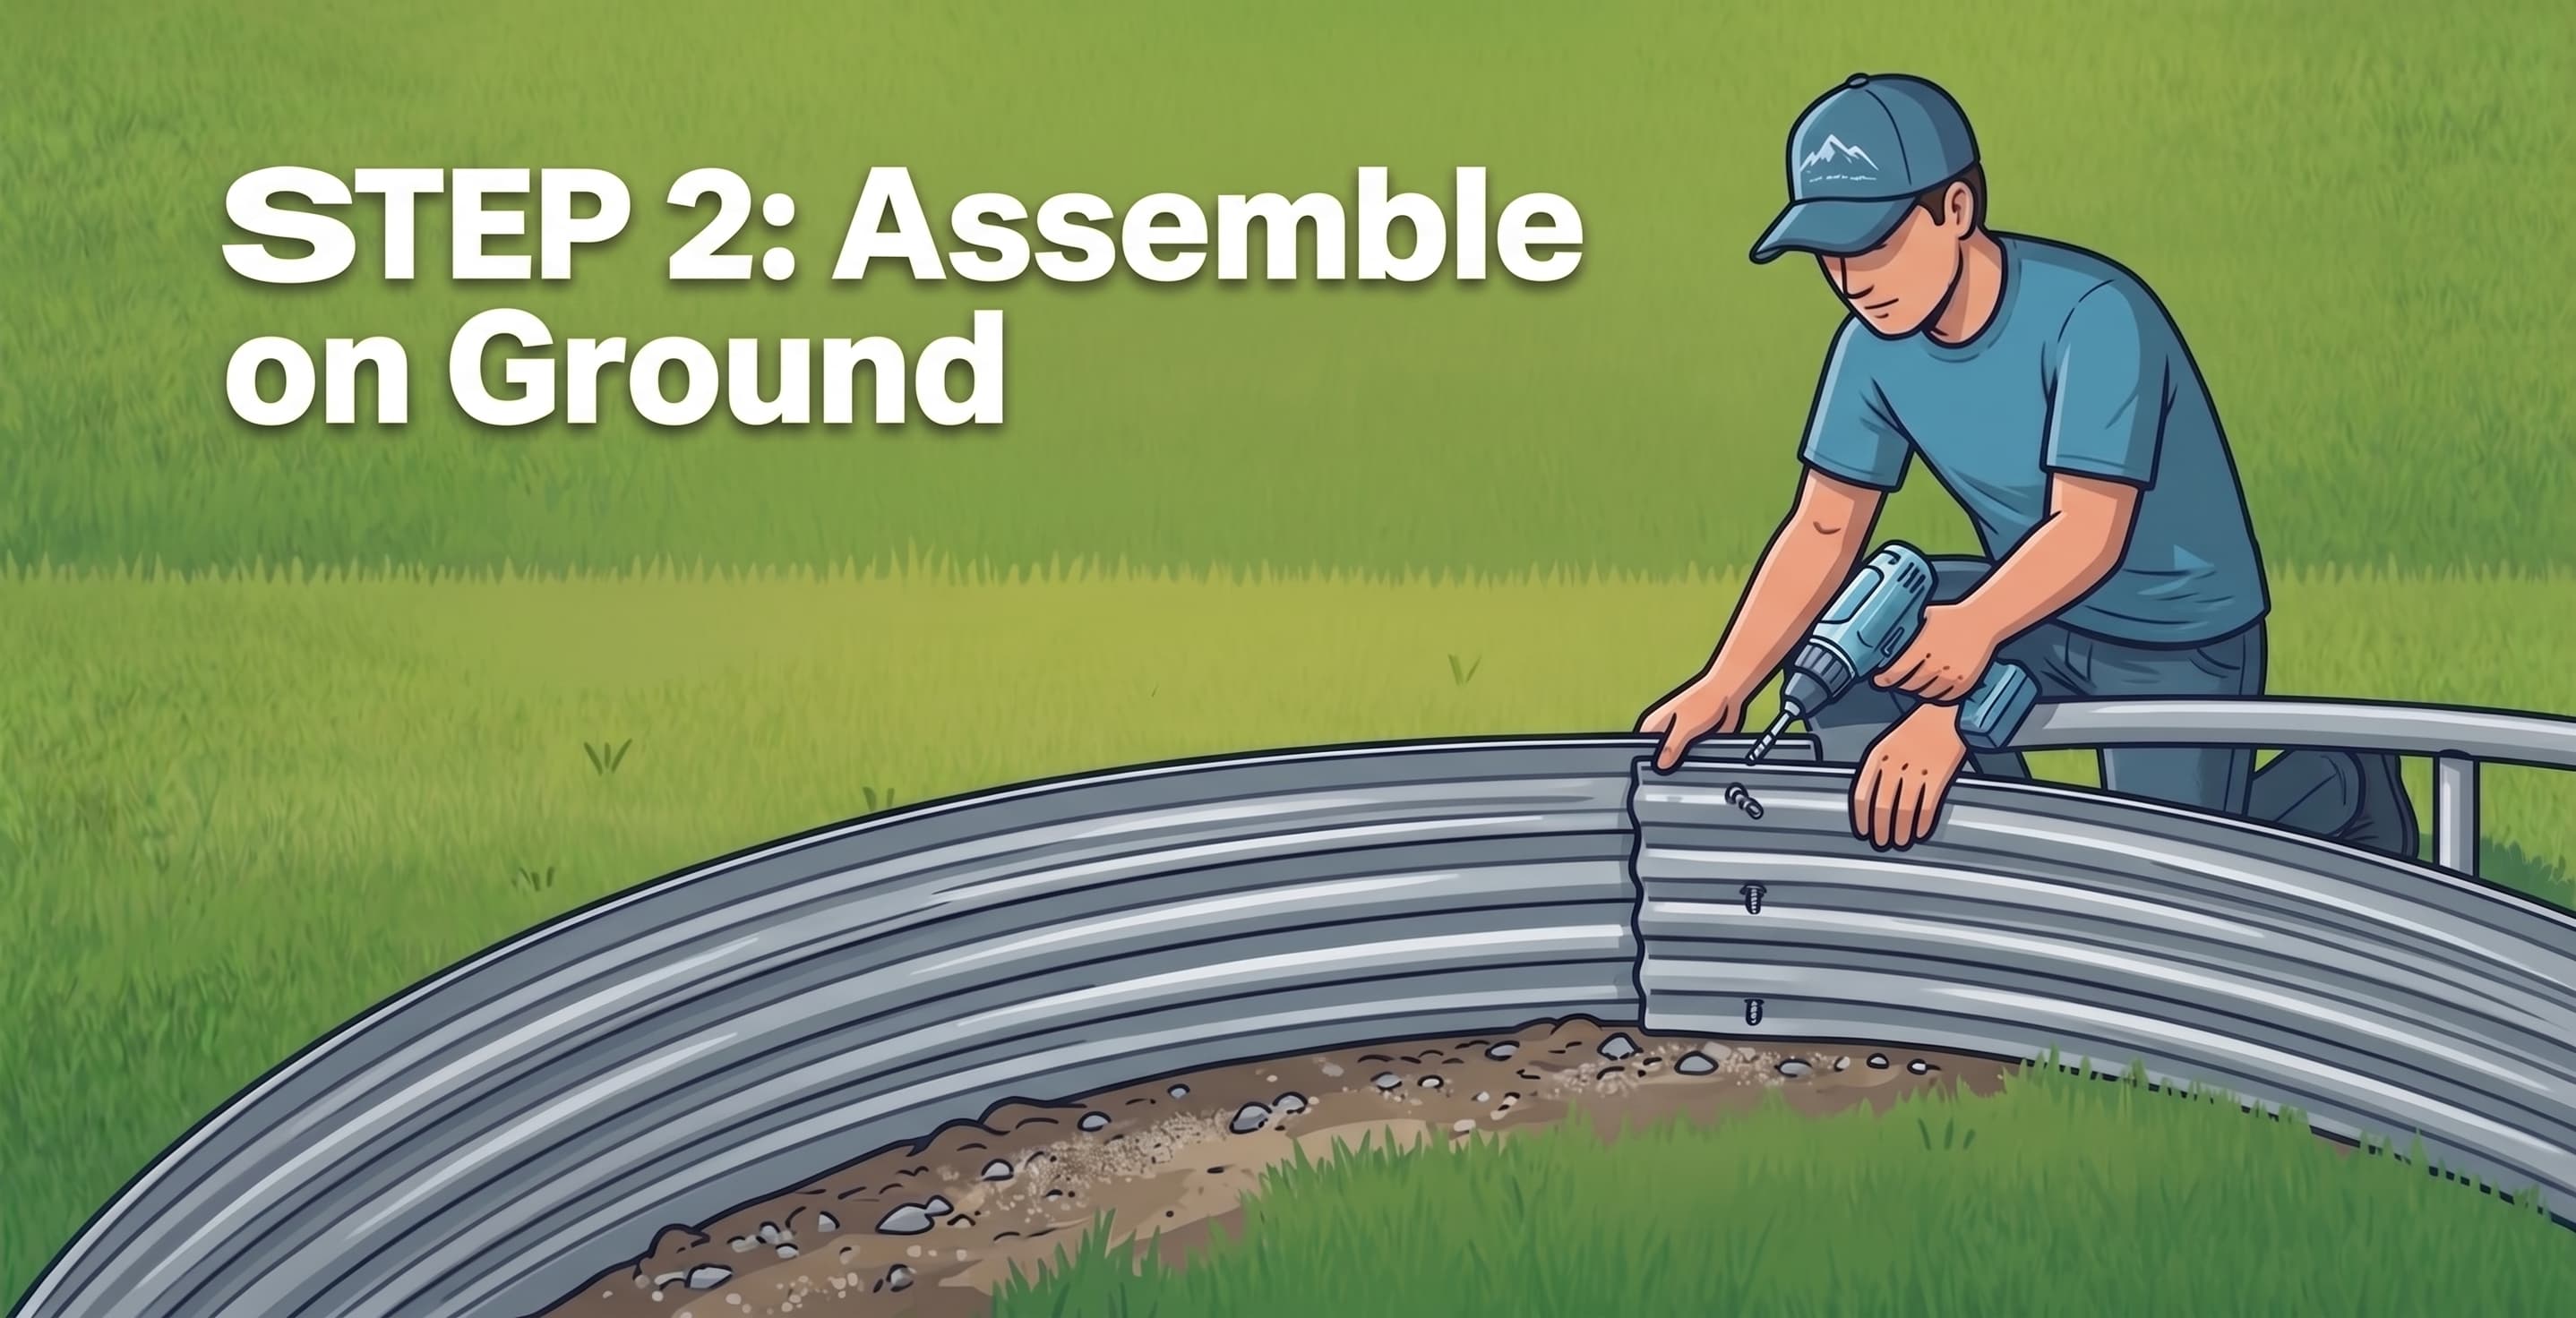
Assemble on Ground
- Align each sheet around the frame of the trampoline.
- Overlap each sheet until the trampoline ring fits flush to the trampoline frame.
- Secure the sheets by inserting the hardware through each sheet of the trampoline ring into the top bar of the frame of the trampoline.
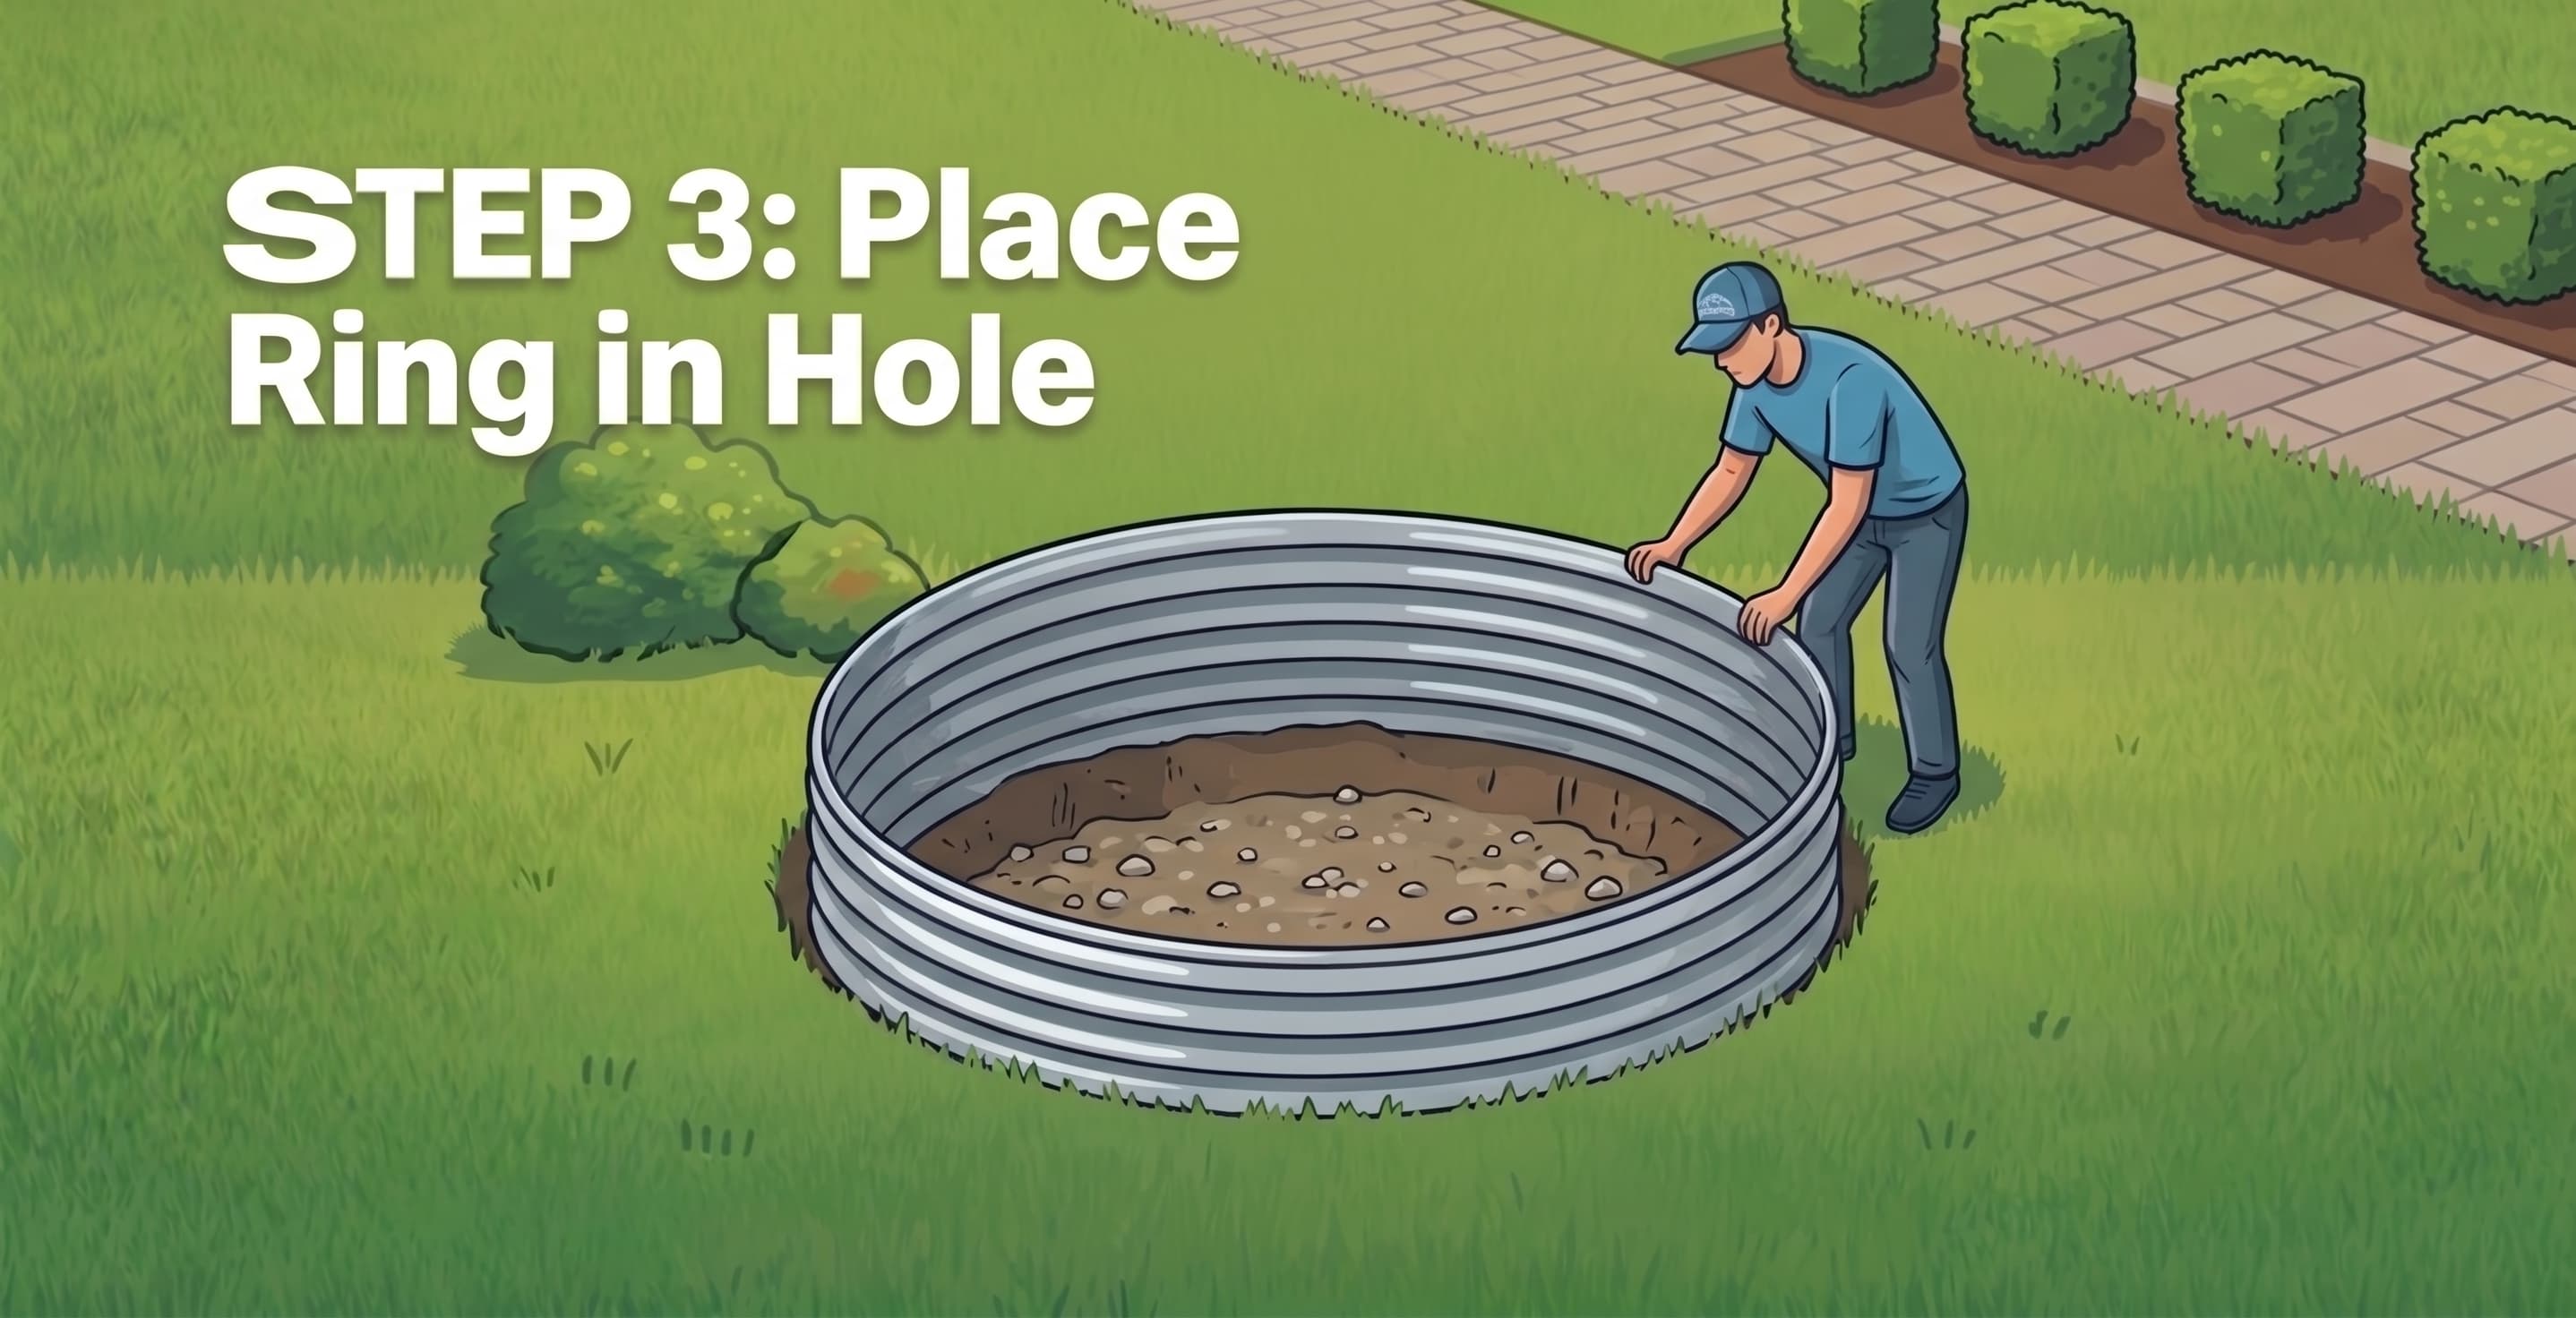
Place Ring in Hole
- Carefully lift the assembled trampoline frame and ring. (This usually requires 2-4 people).
- Lower the entire assembly into the prepared hole.
- Make sure the trampoline and ring sit level and at the correct height.
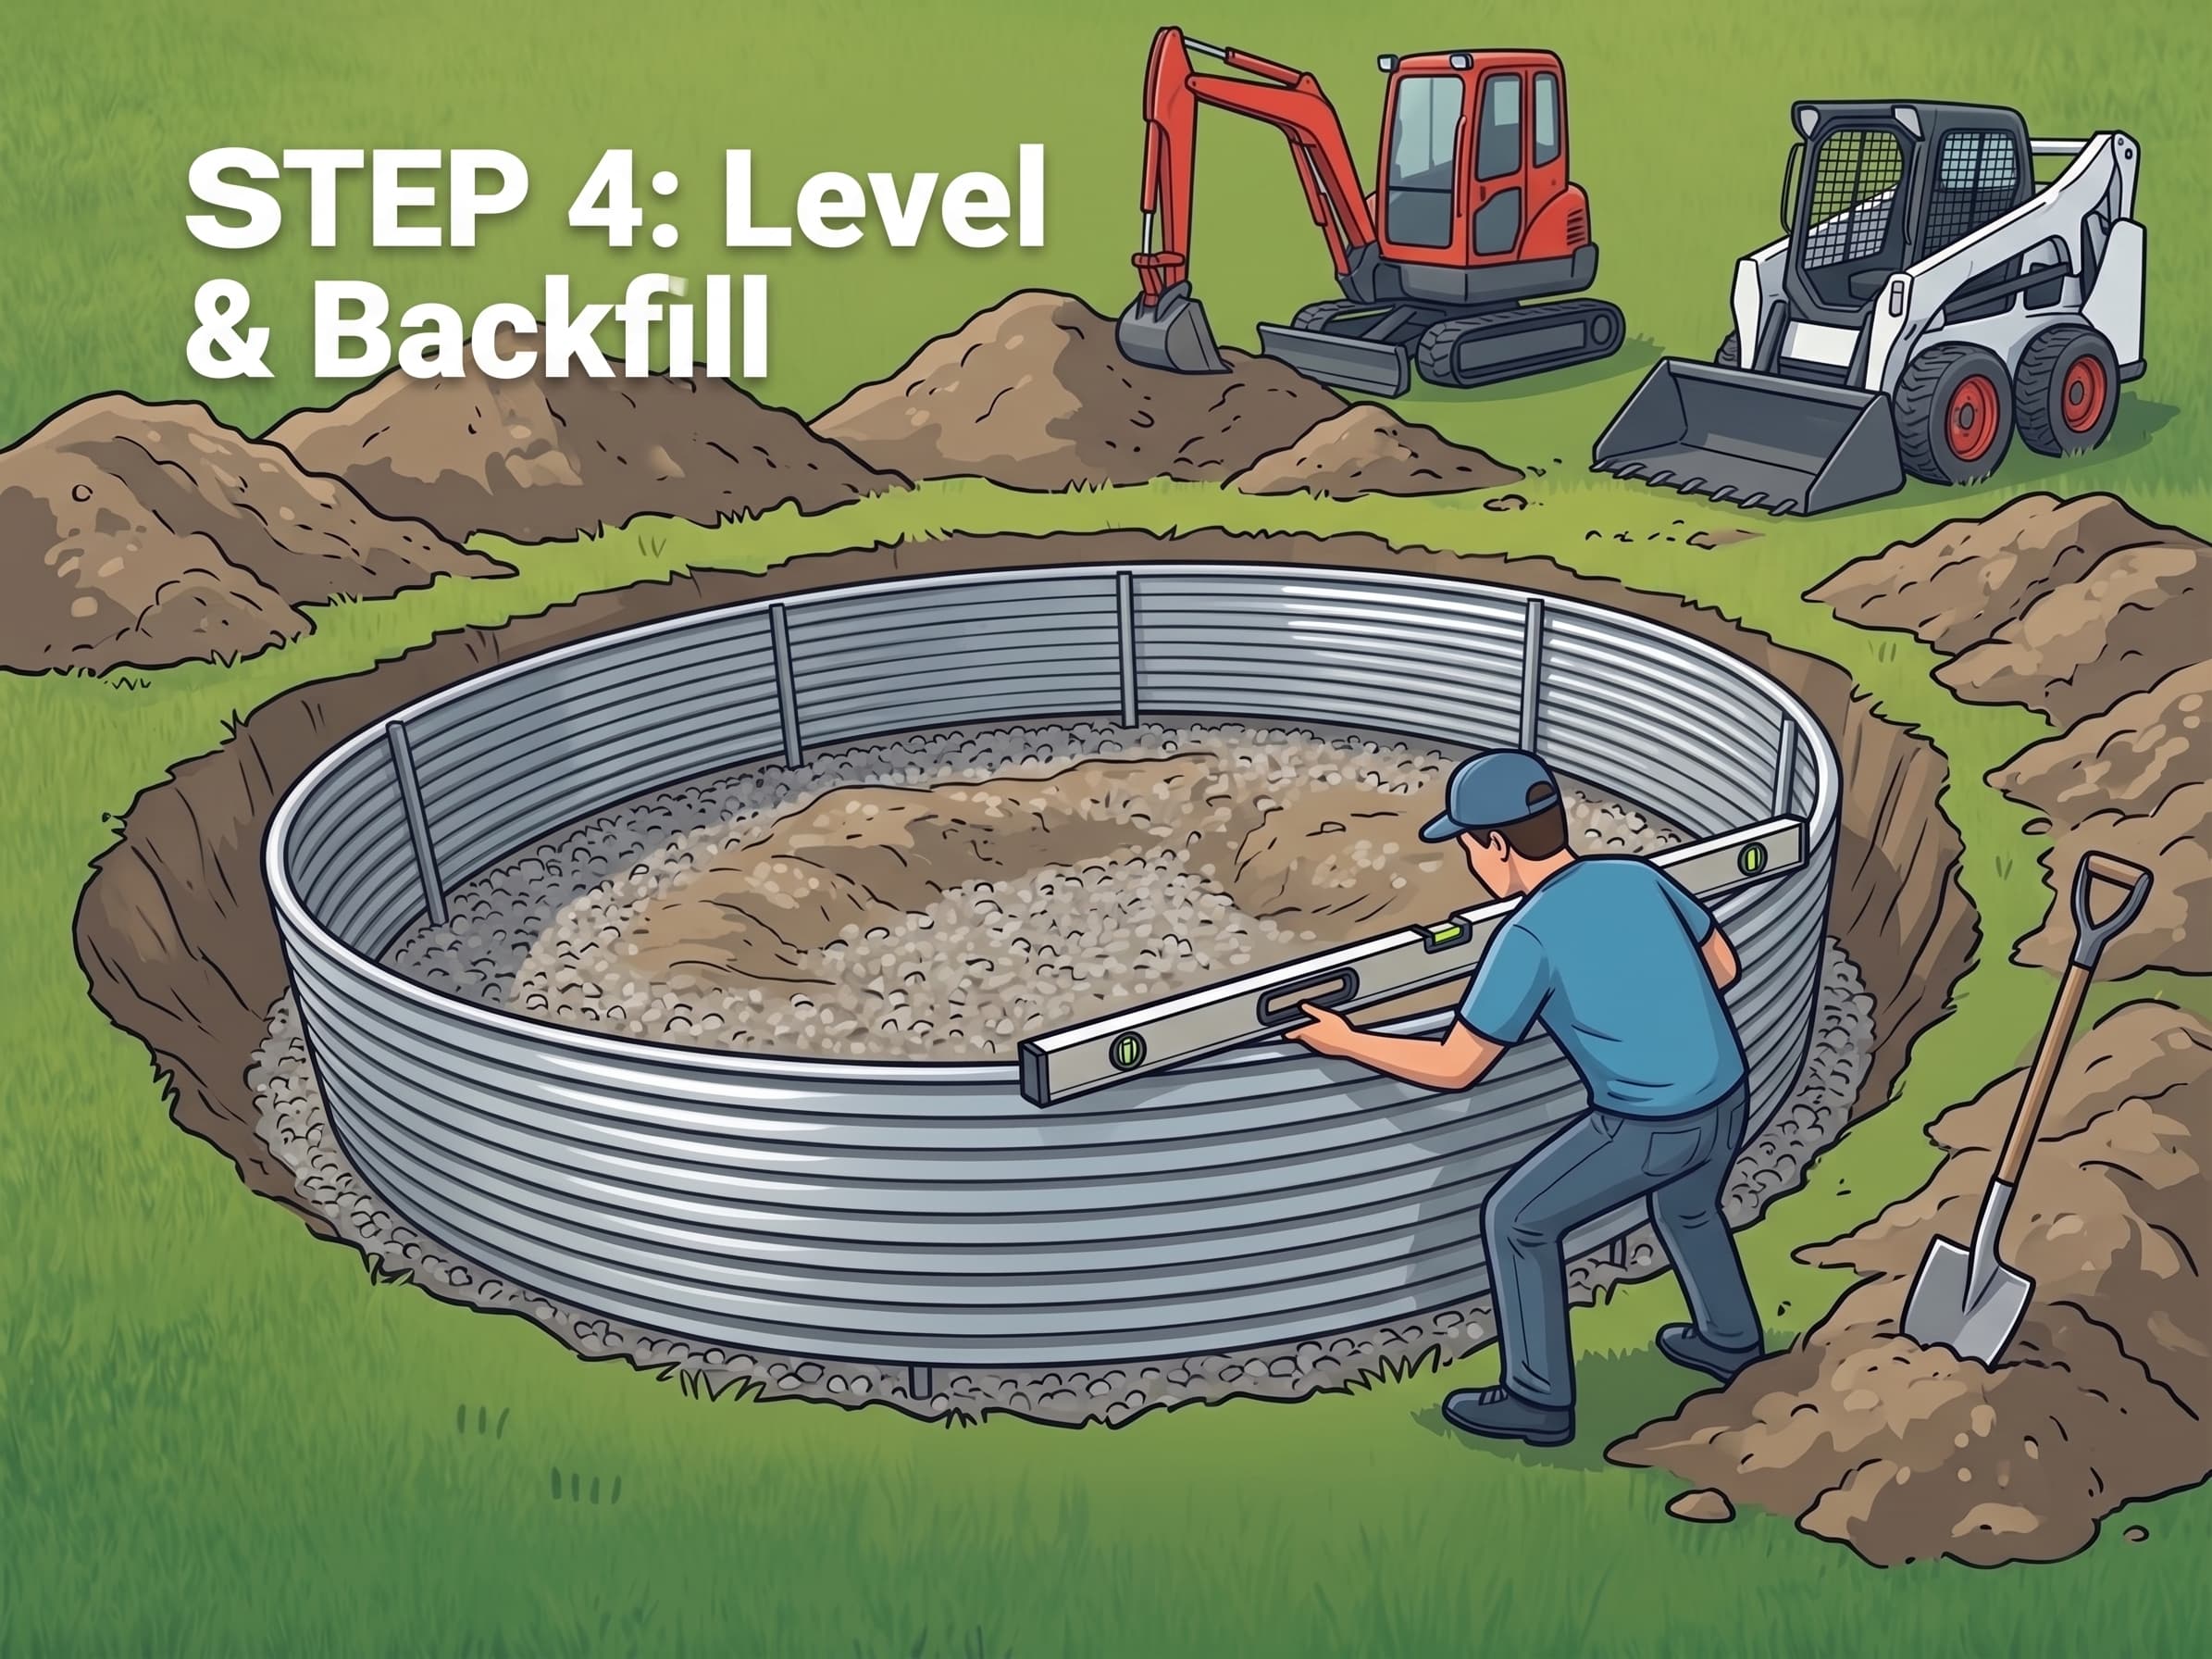
Level & Backfill
- Use a level to check that the ring is perfectly level all the way around.
- Highly Recommended: Add a 2–4 inch layer of gravel at the bottom of the hole under the trampoline for drainage.
- Backfill the space between the ring and the dirt wall with soil.
- Tamp the soil down firmly in layers as you go.
- Continue until the soil is level with the top of the ring.
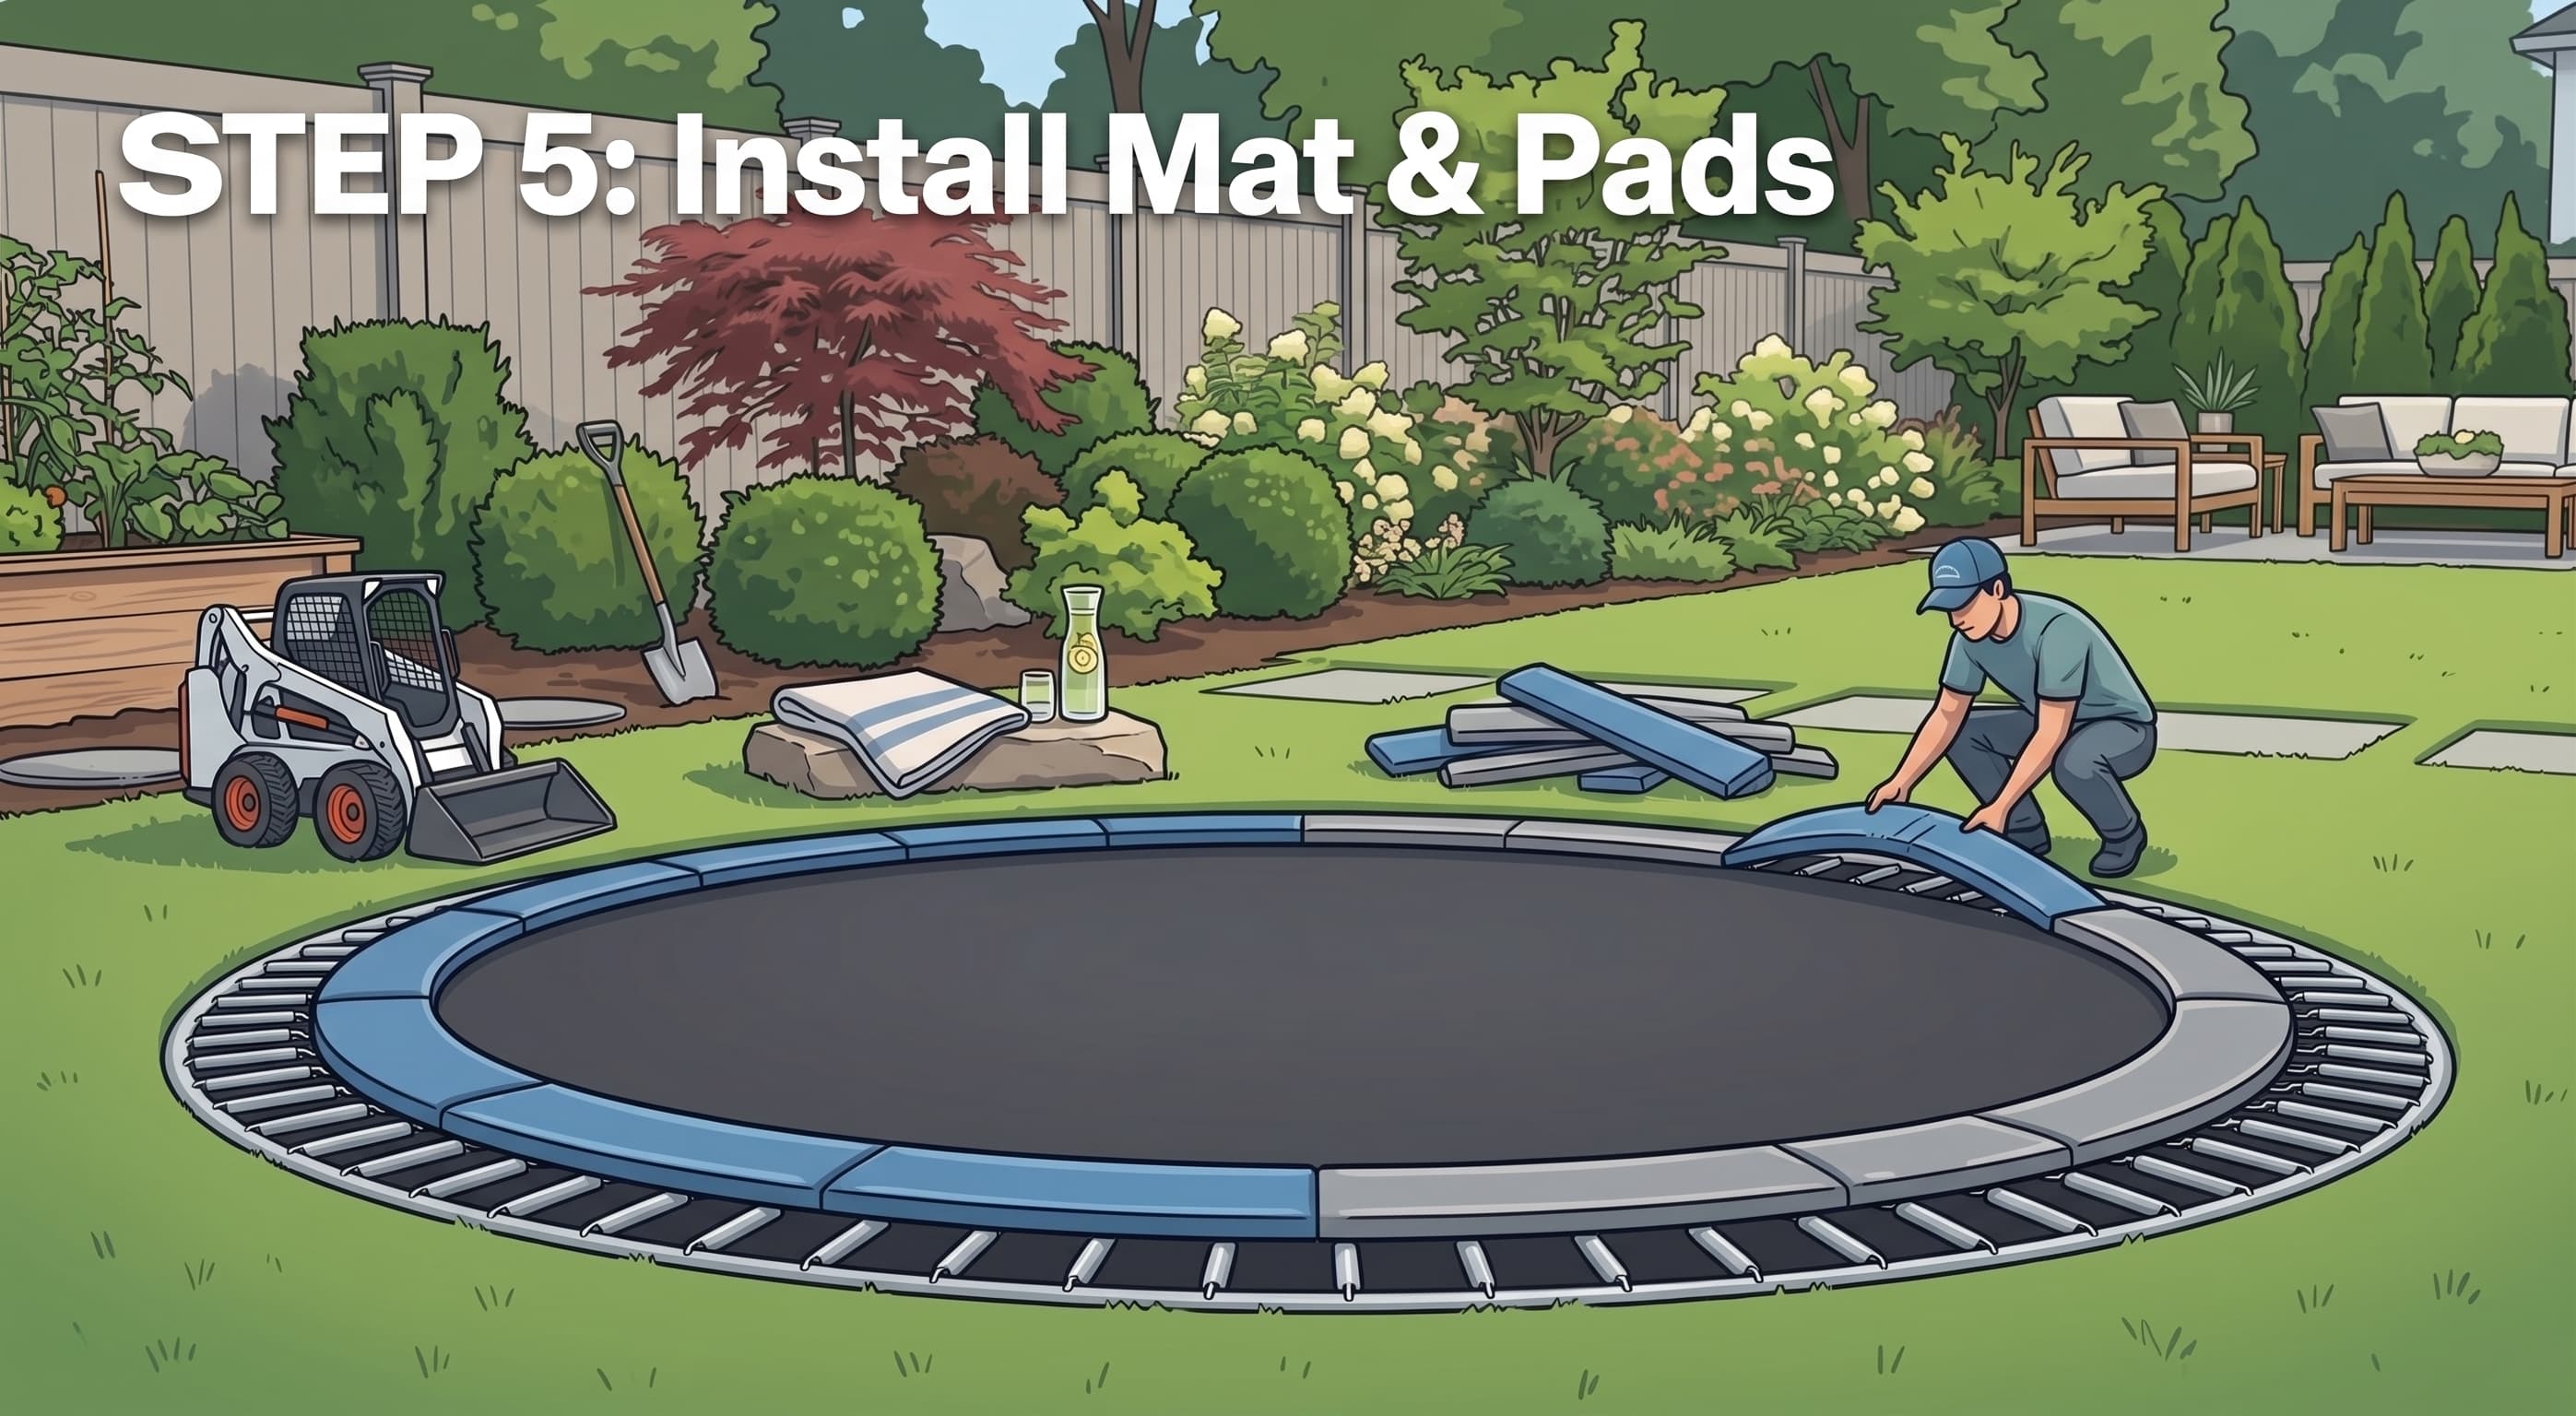
Install Mat & Pads
- Attach your trampoline mat and springs as normal.
- Install the safety pads around the perimeter.
- (Optional) Attach a safety net to the top of the ring if desired.
🎉 Congratulations! Your in-ground trampoline is now complete and ready for years of safe family fun.
Pro Tips
- Work on a dry day (wet soil is much harder to work with).
- Have a second person help with lifting and leveling.
- Don’t overtighten bolts until everything is perfectly aligned.
- Add extra gravel if you live in a rainy area or have clay soil.
- Take photos during installation (they’re helpful if you ever need to call us and we'd love to see your installation!)
Common Mistakes
- Digging the hole too small (always add extra room)
- Not leveling the ring properly
- Skipping the gravel drainage layer
- Backfilling too quickly without tamping
- Forgetting to overlap the sheets correctly
Critical Step: Don't Forget Drainage
Before you backfill, it is highly recommended to add a 3 to 4-inch layer of crushed gravel to the bottom of your pit. If you have heavy clay soil, a high water table, or live in an area with heavy rainfall, a simple gravel base might not be enough to prevent water from pooling and ruining your trampoline bounce.
Troubleshooting
Q: The ring won't sit level
A: Remove soil from the high side and add soil to the low side until perfectly level.
Q: One section feels loose after backfilling
A: Add more soil and tamp it down firmly. You can also add a few extra bolts if needed.
Q: Water is collecting under the trampoline
A: Make sure you added the gravel layer and that your yard has proper overall drainage.
Still Have Questions?
Our team has helped hundreds of customers install their rings. We're happy to walk you through it over the phone or text. We can even FaceTime with you during installation if you want real-time guidance.
Call or Text: (801) 668-2525